Custom Drawstring Bags: 3 Essential Steps for Submitting a Design File Correctly
In the world of cross-border e-commerce customization, what appears to be a flawless design file can lead to costly production failures. One brand once scrapped an entire batch due to a mere 0.5 cm misalignment in the printed pattern—a mishap that, across the industry, contributes to over ¥260 million in losses annually. A design file is not just an expression of aesthetics; it's a precise engineering drawing that bridges creativity and manufacturing. Based on production data from multimillion-unit orders, this guide outlines 12 key transformation checkpoints from concept to physical product, uncovers the hidden causes behind color shifts and pattern distortion, and provides practical safety margins and risk alerts to help clients eliminate over 90% of invisible costs.
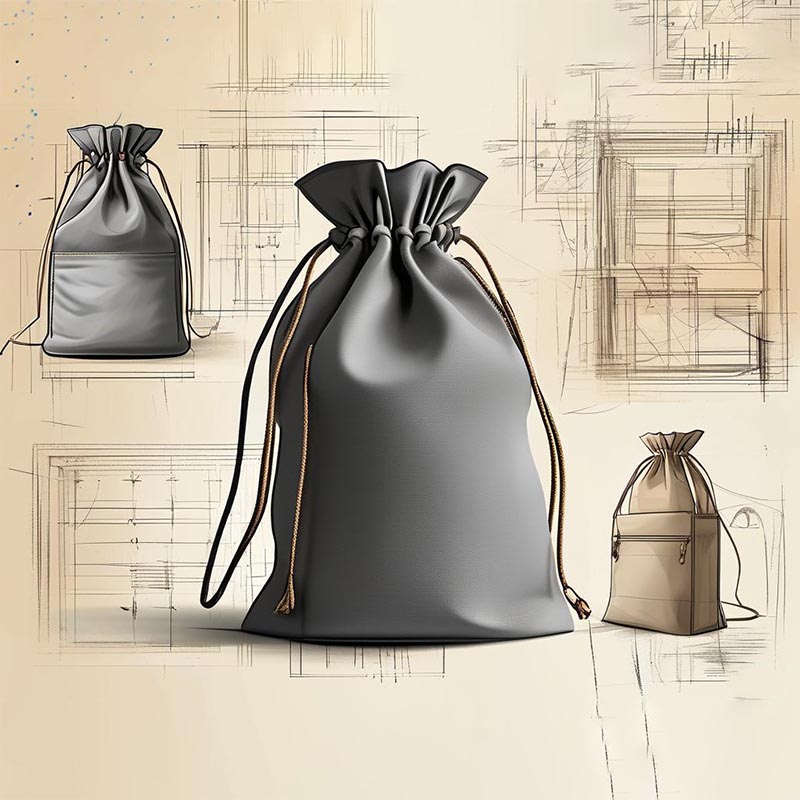
Step 1: Prepare Your Design File
(Tips you can use with just your phone!)
1. Three Golden Rules for Taking Photos on Your Phone
- Lighting: Natural daylight at 10 a.m. near a window > Indoor lighting
(Case study: Pink turned orange under artificial lights.)
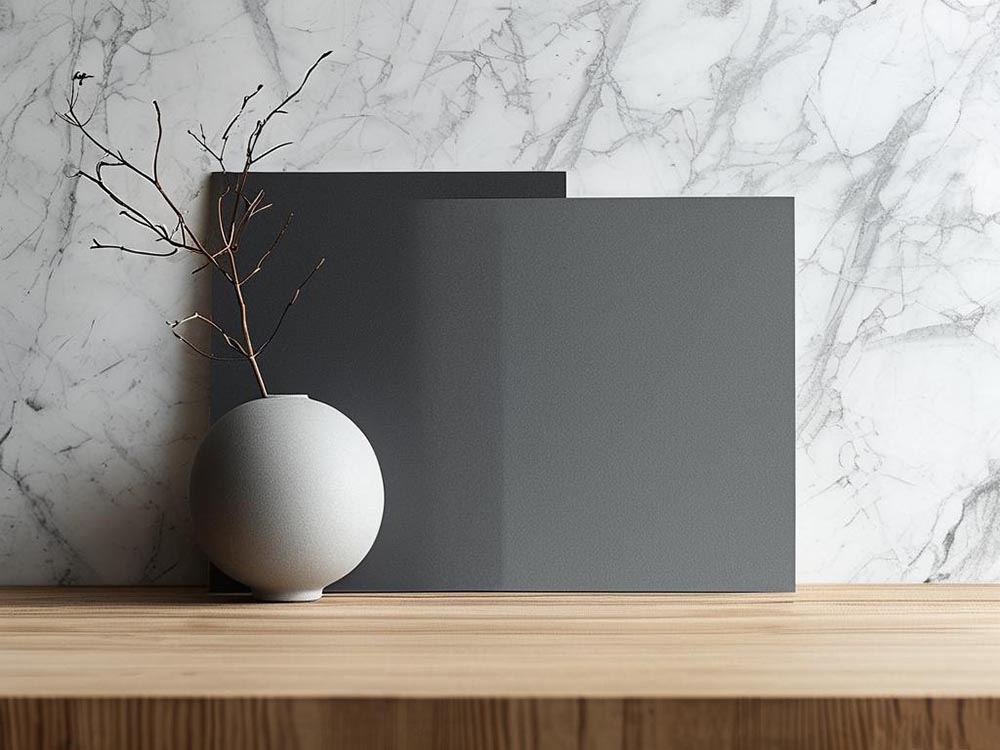
- Background Choice: Neutral gray cardstock > Wooden table > Marble surface
- Size Reference: Coins or credit cards work better than rulers
(Test results: <2% error rate.)
2. File Format Essentials
- Vector Files: AI/CDR formats allow for easier edits
- Image Files: What does 300 dpi really mean?
(Example: A 6-inch photo = 10.16 × 15.24 cm.)
3. Color Labeling Tricks
- Turn off beauty filters when photographing
- Use common objects for color reference: lipstick, leaves, soda bottles, etc.
4. Pattern Positioning
Sketch the layout by hand on A4 paper, marking the placement of patterns
Step 2: Follow Design Specifications
(Including new industry formulas!)
1. Pattern Safe Zone Calculation
- Universal Formula: Bag height × 0.8 = Max main pattern height
- Warning Zone: Bottom 5 cm is prone to distortion due to fabric tension
2. Typography Survival Guide
- Font Size Conversion: A4 printed size ≈ Actual printed result
(See Appendix 1 for comparison table.)
- Avoid These Fonts: Calligraphy or ultra-thin styles must be >3 mm for clarity
3. Color Distortion Alerts
- Bleed Risk: CMYK sum >280% will likely cause smudging
- Fix for Tricky Colors: Add 10% blue to purples to reduce gray cast
Step 3: Avoid Common Pitfalls
1. Vanishing Text
- Minimum size: Chinese ≥ 5 mm, English ≥ 4 mm
- Keep vital text at least 2 cm away from drawstring holes
2. Pattern Distortion Prevention
- Add 3 cm bleed margins on all sides for seamless patterns
- Avoid placing designs in the curved bottom area
3. Color Accuracy Tips
- Bright yellow often turns muddy
- Deep purple can appear dirty
- Always request a sample for approval
Efficient Communication Tips
(Cut your communication time by 30%)
1. Needs Statement Formula:
- “I want a (material) drawstring bag, size (dimensions),
- Main pattern is (design element), with a (vibe: fresh/cool, etc.) feel.”
2. Feedback Example:
- ❌ “Make the red brighter”
- ✅ “Match the red on a Coca-Cola can”
3. In Case of Emergencies
- Record a quick video to explain the issue
- Use red pen to circle the problem area and send a photo
Case Studies
1. Viral Shop Bestsellers
- Design Cost: Original illustration ¥800 vs Stock design ¥200
- Production ROI: Cost differences between initial 3,000 pcs and reorders
2. Corporate Gifts Optimization
Saved materials on 5,000-unit orders by:
- Printing the same pattern on both sides (¥0.3/unit saved)
- Using gang-run printing (15% waste reduction)
3. Crowdfunding Failures Abroad
Cultural Pitfalls:
- 13 banned symbols in North America
- EU regulations on eco-label usage
Conclusion
Custom drawstring bags are the result of precise dialogue between visual design and industrial production. A 0.1 mm size deviation or 10% color shift can trigger chain reactions across the supply chain. By building a three-tier control system—using relatable references during design, predictive formulas before production, and scene-based checks before delivery—success rates can be tripled. We recommend that businesses create archives linking design choices to production outcomes, gradually developing predictive precision for future customization. In the end, a successful custom order is not just a transaction but a shared aesthetic language built between creator and manufacturer.
Appendix 1: A4 Print Font Size vs Actual Bag Printing Effect
| A4 Font Size |
Actual Print Height |
Clarity |
Size Comparison |
Ideal Use |
| 8 pt (5 mm) |
~5 mm |
★★★☆☆ |
Rice grain |
Disclaimers |
| 12 pt (8 mm) |
~8 mm |
★★★★☆ |
1 yuan coin |
Contact info |
| 16 pt (12 mm) |
~12 mm |
★★★★★ |
Credit card width |
Brand logos |
| 20 pt (15 mm) |
~15 mm |
★★★★★ |
Lighter length |
Slogans |
| 24 pt (18 mm) |
~18 mm |
★★★★★ |
Adult palm width |
Promotions |
- Usage Guide & Risk Avoidance
- Visual Perception Correction
- A4 viewed at 30 cm ≈ Bag seen from 50 cm
- Below 5 mm print (A4 8 pt) will vanish beyond 3 meters
- Material Influence Table
| Material Type |
Visual Shrink Rate |
Design Adjustment |
| Canvas/Cotton Linen |
10% |
Increase font size by 1 pt |
| Waterproof Oxford |
15% |
Bold lines by 0.2 mm |
| Mesh Fabric |
20% |
Avoid fonts ≤10 pt |
- Emergency Fixes
- Too-small text? Add white stroke (+0.3 mm) for 30% boost in legibility
- Complex backgrounds? Add 50% transparent base with 3 mm padding
- Validation Method
- Paper Test
Fold A4 twice (A6 size), place on a table and view while standing: if legible, it’s approved
- Phone Test
- Zoom in photo to match actual bag width on screen
- If you can read the smallest text from 1 meter away, it's safe
 We like to do design according to all the customers' requirements, or offer them our new designs. With strong OEM/ODM capabilities, we can fill your sourcing demands.