How to Accurately Measure Drawstring Bags at Home: A Step-by-Step Guide to Avoid Common Mistakes
When customizing drawstring bags, inaccurate measurements are often the root cause of poor final results. Many consumers rely on conventional methods to measure length, width, and height, overlooking subtle variables such as fabric stretch and sewing loss, which can lead to reduced actual capacity or drawstring malfunctions. A less obvious challenge lies in how a single set of dimensions can vary dynamically under different humidity, temperature, and load conditions.
This article dissects 10 commonly overlooked details in the measurement process, based on material properties and production logic. It offers reusable error-compensation formulas and DIY inspection tools, helping you mitigate 90% of the risks in custom manufacturing through scientific measurement methods.
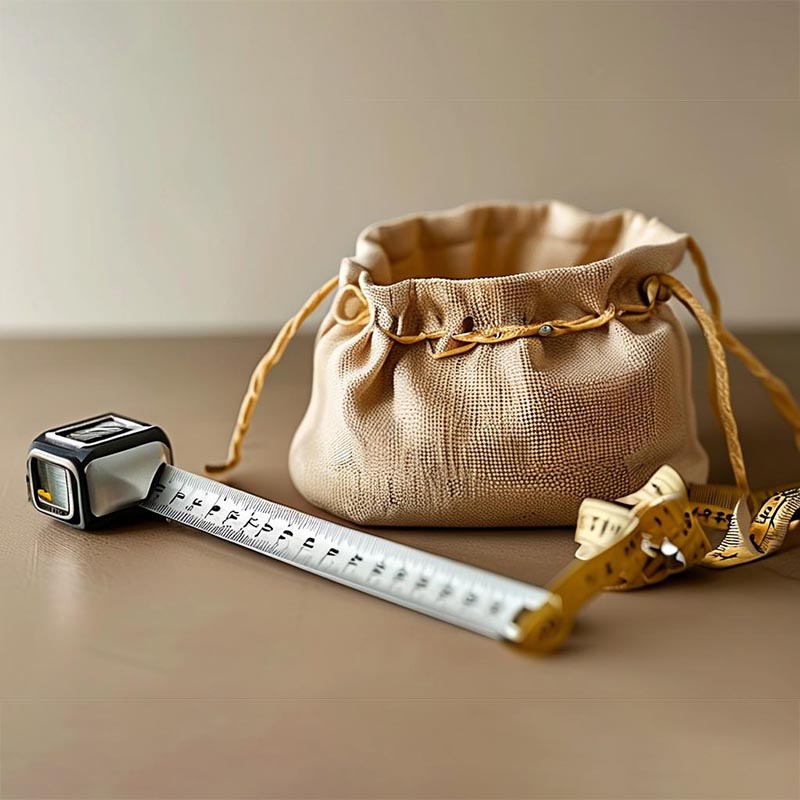
Preparation: 3 Common Household Tools You’ll Need
- A Hardcover Book (Recommended: A4-sized notebook)
▸ Purpose: Flatten bag creases, simulating a professional pressing board.
- Tape Measure / Student Ruler
▸ Alternative: Mobile app “Smart Ruler” (available for free in app stores).
- 500ml Water Bottle
▸ Purpose: Simulates bag expansion under load.
The Overlooked Revolution in Measuring Tools
| Tool Type |
Household Alternative |
Professional Substitute |
Margin of Error |
| Flat Surface |
Tile flooring |
Laser level |
±2mm → ±0.5mm |
| Vertical Support |
Thick dictionary |
Adjustable display stand |
±8mm → ±1mm |
| Curvature Gauge |
Flexible measuring tape |
Contour scanner |
±1.5cm → ±0.2cm |
Pro Tips:
- Use your phone’s flashlight from the side to highlight fabric grain, which affects stretch values.
- Draw reference lines on wooden floors using chalk to prevent fabric slippage during measuring.
Full Measurement Workflow (7 Key Phases)
Phase 1: Pre-Treatment
- Cotton/linen bags should be steam-ironed (keep 30cm away to avoid shrinkage).
- Synthetic fabrics should rest for 24 hours to release internal stress.
Phase 2: Basic Measurement
- Bag Length = Vertical distance from bottom center to opening × 1.03 (includes seam allowance).
- Effective Width = Bag laid flat width − (2 × side seam allowance).
Phase 3: Dynamic Testing
Insert standard weights (e.g., 5 magazines ≈ 2kg) and measure:
- Lateral Expansion Rate = (Loaded width − Original width) / Original width × 100%
- Bottom Sag Depth = Loaded depth − Original depth
Phase 4: Special Structures
- Drawstring Channel Depth = Channel opening height + 0.3cm (anti-slip buffer)
- For double-layer designs, insert a toothpick to mark both fabric layers simultaneously.
Compensation Schemes for Different Use Cases
Scenario 1: Food Packaging Bags
- Allow 8–12% extra for expansion (think of bread proofing).
- Humidity shrinkage compensation: subtract 0.5cm when humidity >60%.
Scenario 2: Sports Equipment Bags
- Add 5cm to the longest item dimension (e.g., badminton racket: 68cm + 5cm = 73cm).
- Conduct stretch resistance test: suspend a 2kg load for 24h and measure deformation.
Scenario 3: Gift Packaging Bags
- Visual Correction Formula: Actual height = Visual height × 0.93
- Allow extra 1.2cm for foil stamping or embroidery zones.
Internal QA Standards from Factory QC Departments
| Inspection Item |
Acceptance Criteria |
DIY Test Method |
| Dimensional Stability |
<2% deformation after 3 washes |
Soak in saline solution, air dry and re-measure |
| Seam Strength |
No tearing under 5kg load |
Lift a rice sack to simulate usage |
| Drawstring Smoothness |
Fully cinch within 3 seconds |
Wax crayon test: check for smooth trace |
Case Warnings:
- A client neglected fabric shrinkage and 5,000 canvas bags shrank by 5cm post-wash.
- Ignoring presser foot thickness during measurement resulted in a 20% reduction in bag capacity.
3 Overlooked Measurement Traps
- Timing Pitfalls
- Best to measure cotton/linen in the morning (fibers are most relaxed).
- Avoid measuring synthetics at midday when temperatures peak.
- Common Errors Cheat Sheet
| Mistake |
Result |
Correct Approach |
| Measuring under tension |
Final size 5–8cm smaller than planned |
Measure bag flat, without stretching |
| Measuring only one side |
Asymmetrical output |
Measure both sides, use average |
| Ignoring drawstring bulk |
One-third reduction in real capacity |
Tighten drawstring fully during measurement |
- Quick Error Check Using A4 Paper (21×29.7cm)
- Fold in half to simulate vertical stance (10.5×29.7cm)
- Insert items like an umbrella or lunchbox to test fit and clearance.
Conclusion
Accurate bag measurement is a three-dimensional analysis of spatial relationships that must account for both static dimensions and dynamic variations. From pre-treating fabrics and simulating real loads, to calculating seam allowances and material deformation, even the smallest misjudgment can be magnified during production. We recommend establishing a 3D coordinate reference system and focusing not just on visual dimensions, but also on seam strength and functional fit.
With advanced skills such as temperature compensation and parallax correction, even non-professionals can produce measurements that rival factory-level reports. Ultimately, a well-fitting finished product depends on your foresight and adjustments during the measurement phase to accommodate the often-invisible factors.
 We like to do design according to all the customers' requirements, or offer them our new designs. With strong OEM/ODM capabilities, we can fill your sourcing demands.